Introduction
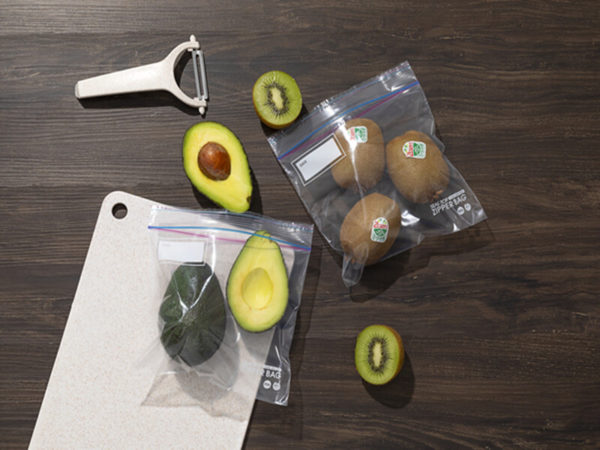
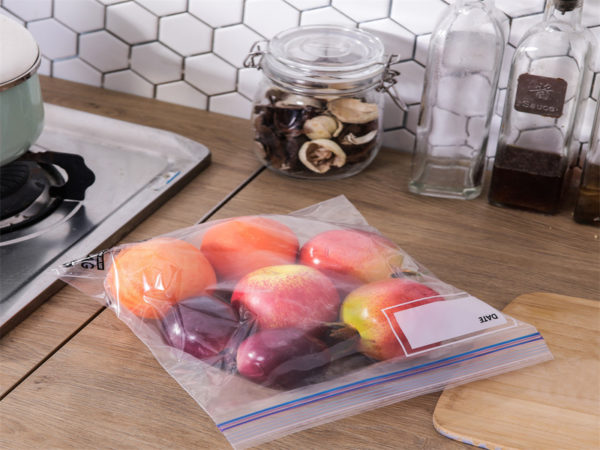
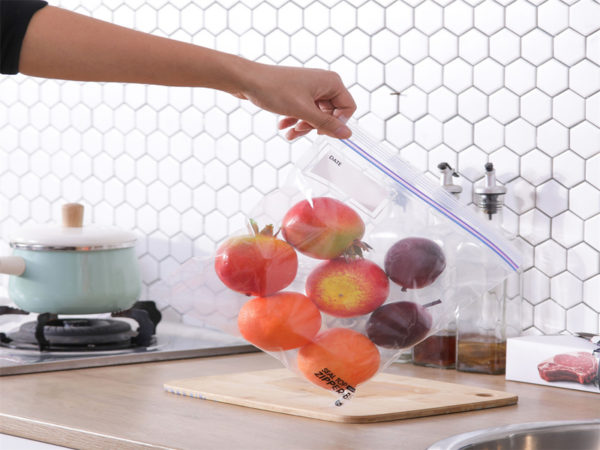
Many people think that dried fruit is less nutritious than fresh fruit, but this understanding is wrong. Compared with fresh fruit, dried fruit does lose more vitamin C, but because of the concentration, the same weight of dried fruit contains more minerals and other trace elements than fresh fruit. Dried fruit is dehydrated. At the same time, the dried fruit you make is stored in a fruit packaging bag, which will be easier to store and carry. Dried fruit is also a snack companion for all ages.
Top 5 Delicious dried fruits
Top 1 Dried apples
Ingredients: Apple, Oven
Step 1 Prepare the apples
Firstly, the first thing is to prepare apples. Not all apples are suitable. Apples that are too raw will have an astringent taste after baking, and too ripe apples are not convenient for slicing.
Step 2 Peel the skin and slice.
The second step is to remove the apple’s skin and then cut it into slices. When cutting, try to cut it as thin as possible, about 3 mm, so that it is better roasted and the taste after air-drying is crisper.
Step 3 Platter
Bake in the oven. It is better to use a wire rack for baking, which can increase the heating area of the apple slices and bake faster. Put the apple slices on the wire rack, and pay attention to leaving between the apple slices. There are gaps.
Step 4 Bake
Before putting the wire rack full of apple slices in the oven, you can put the baking pan in it, then put it in the wire rack so that the apple slices are low in moisture and can drip into the baking pan. Because different ovens have different designs and structures, please combine your ovens and place them. Turn on the oven to 100 degrees and wait 40 minutes to an hour.
Step 5 Flip
Because the oven is different, you can observe the degree of baking of the apple slices. You can almost finish it in one time. After baking for about 50 minutes:
- Take them out.
- Turn the apple slices over.
Step 6 Dry
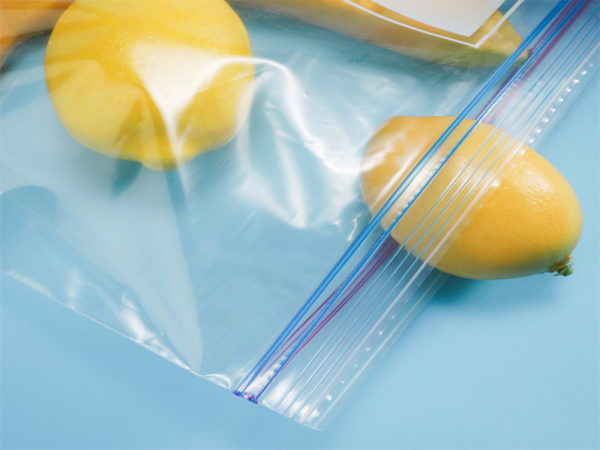
It is also a very important step to let the baked apple slices dry for a while, which will make the taste more crisp and delicious and put them in a sealed food packaging bag, which can be stored for several months.
Top 2 Dried bananas

Ingredients: Banana, Oven
Step 1 Prepare the Bananas
To make dried bananas, the first thing to do is prepare bananas. Not all bananas are suitable. After roasting, too raw bananas will have an astringent taste, and too ripe bananas are inconvenient to slice. If the banana is a little soft and is not easy to slice, you can put it in the refrigerator for a while and take it out.
Step 2 Peel the skin and slice.
The second step is to remove the peel of the banana and then cut it into slices. When cutting, try to cut it as thin as possible, about 3 mm, so that it is better roasted and the taste after drying is crisper.
Step 3 Platter
Baking in the oven, it is better to use a wire rack for baking, increasing the heating area of the banana slices and making them bake faster. Put the banana slices on the wire rack, and pay attention to the space between the banana slices and the banana slices. There are gaps.
step 4 Bake
Before putting the wire rack full of banana slices in the oven, you can put the baking tray in first and then put it in the wire rack so that the banana slices have low moisture and can drip into the baking tray. Because different ovens have different designs and structures, please combine your ovens and place them. Turn on the oven to 100 degrees and wait 40 minutes to an hour.
Step 5 Flip
Because the oven is different, you can observe the degree of baking the banana slices. You can almost finish it in one time. After baking for about 50 minutes:
- Take it out.
- Turn the banana slices over.
Step 6 Dry
It is also a very important step. Let the baked banana slices dry for a while, which will make the taste more crisp and delicious, and put them in a sealed food packaging bag, which can be stored for several months.
Hibags dried fruit tips.
- If you want the banana to be dry and white, you can soak it with lemon juice and water.
- When cutting the banana slices, the thickness should be about 0.5mm, and it is not necessary to cut too thin.
- Baking must be at a low temperature of 60-80 degrees without preheating. Bake until crispy to your liking.
- It is recommended not to bake too many dried bananas at a time. It is better to eat the amount that can be eaten in about three days. If you bake too much, you can consider putting them in Hibags dried fruit food packaging bags to seal them for storage.
- You can use a low temperature and slow roasting or high temperature and fast roasting to make dried bananas. High temperature and fast roasting are easy to burn, and you need to stare at them all the time.
Top 3 Raisins
Ingredients: Grapes, Oven
Step 1 Prepare the grapes
Firstly, the first step is to prepare grapes. Not all grapes are suitable. After roasting, too raw grapes will have an astringent taste, and too ripe grapes are not convenient for slicing.
Step 2 Peel the skin and slice.
The second step is to remove the skins of the grapes and then cut them into slices. When cutting, try to cut them as thin as possible, about 3 mm, so that they are better roasted and the taste after drying is crisper.
Step 3 Platter
Bake in the Oven. There are gaps. It is better to use a mesh rack for baking, which can increase the heating area of the grape slices and bake faster. Put the grape slices on the mesh rack, and pay attention to leaving the space between the grape slices.
Step 4 Bake
Before putting the rack full of grape slices into the oven, you can put the baking tray in and then put the rack in so that the grape slices have low moisture and can drip into the baking tray. Because different ovens have different designs and structures, please combine your ovens and place them. Turn on the oven to 100 degrees and wait 40 minutes to an hour.
Step 5 Flip
You can almost finish it in one time. After baking for about 50 minutes:
- Take it out.
- Turn the grape slices over.
Because the oven is different, you can observe the degree of roasting the grape slices.
Step 6 Dry
It is also a very important step. Let the roasted grape slices dry for a while, which will make the taste more crispy and delicious. It can be stored in a sealed food packaging bag for several months.
Top 4 Dried mango
Material Details: mango, oven
Step 1 Prepare the mango
To make dried mango fruit, the first thing to do is to prepare mango fruit. Not all mango fruits are suitable. After roasting, too raw mango fruit will have an astringent taste, and too ripe mango fruit will be inconvenient to slice.
Step 2 Peel the skin and slice.
The second step is to pull out the skin of the mango fruit and then cut it into slices. When cutting, try to cut it as thin as possible, about 3 mm, so that it is better roasted and the taste after air-drying is more crispy.
Step 3 Platter
Baking in the oven, it is better to use a mesh rack, which can increase the heating area of the mango fruit slices and bake faster. Put the mango fruit slices on the mesh rack, and pay attention to the mango fruit slices. There are gaps.
Step 4 Bake
Before putting the rack full of mango fruit slices into the oven, you can put the baking tray in first and then put it into the rack so that the mango fruit slices have low moisture and can drip into the baking tray. Because different ovens have different designs and structures, please combine your ovens and place them. Turn on the oven to 100 degrees and wait 40 minutes to an hour.
Step 5 Flip
You can almost finish it in one time. After baking for about 50 minutes:
- Take it out.
- Turn the mango fruit slices over.
Because the oven is different, you can observe the degree of roasting of the mango fruit slices.
Step 6 Dry
It is also a very important step. The baked mango fruit slices are left to dry for a while, which will make the taste more crisp and delicious. Put them in a sealed food packaging bag, and they can be stored for several months.
Top 5 Dried mango
Ingredients: Grapes, Oven
Step 1 Prepare the grapes
Firstly, the first step is to prepare grapes. Not all grapes are suitable. After roasting, too raw grapes will have an astringent taste, and too ripe grapes are not convenient for slicing.
Step 2 Peel the skin and slice.
The second step is to remove the skins of the grapes and then cut them into slices. When cutting, try to cut them as thin as possible, about 3 mm, so that they are better roasted and the taste after drying is crisper.
Step 3 Platter
Bake in the Oven; it is better to use a mesh rack for baking, which can increase the heating area of the grape slices and bake faster. Put the grape slices on the mesh rack, and pay attention to leaving the space between the grape slices. There are gaps.
step 4 Bake
Before putting the rack full of grape slices into the oven, you can put the baking tray in and then put the rack in so that the grape slices have low moisture and can drip into the baking tray. Because different ovens have different designs and structures, please combine your own ovens and place them. Turn on the oven to 100 degrees and wait 40 minutes to an hour.
Step 5 Flip
You can almost finish it in one time. After baking for about 50 minutes:
- Take it out.
- Turn the grape slices over.
Because the oven is different, you can observe the degree of roasting the grape slices.
step 6 Dry
It is also a very important step. Let the roasted grape slices dry for a while, which will make the taste more crispy and delicious. It can be stored in a sealed food packaging bag for several months.
Conclusion
In addition, the method of roasting dried fruit is not only this one, but it can also be done with a dehydrator, or it can be dried in the sun in the most primitive and natural way. Fresh fruits often contain more active proteases and tannins, which are also very damaging to the mucosa of the digestive tract. It is also good to be a small snack. While supplementing various nutrients, it can also increase plant fiber, promote gastrointestinal motility, and aid digestion. Hibags is a professional food packaging bag manufacturer. If you need this dried fruit bag to pack your products, contact us. We provide professional dried fruit bag packaging and printing services.